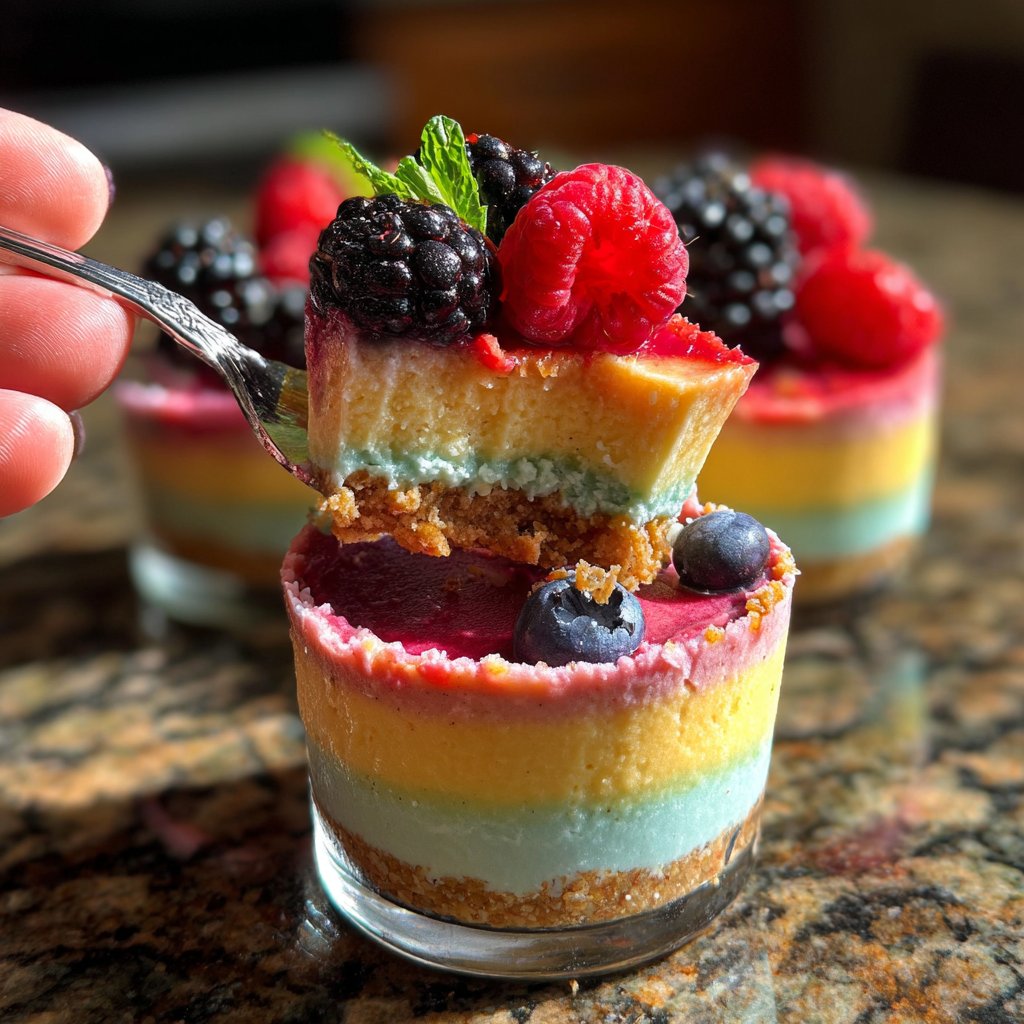
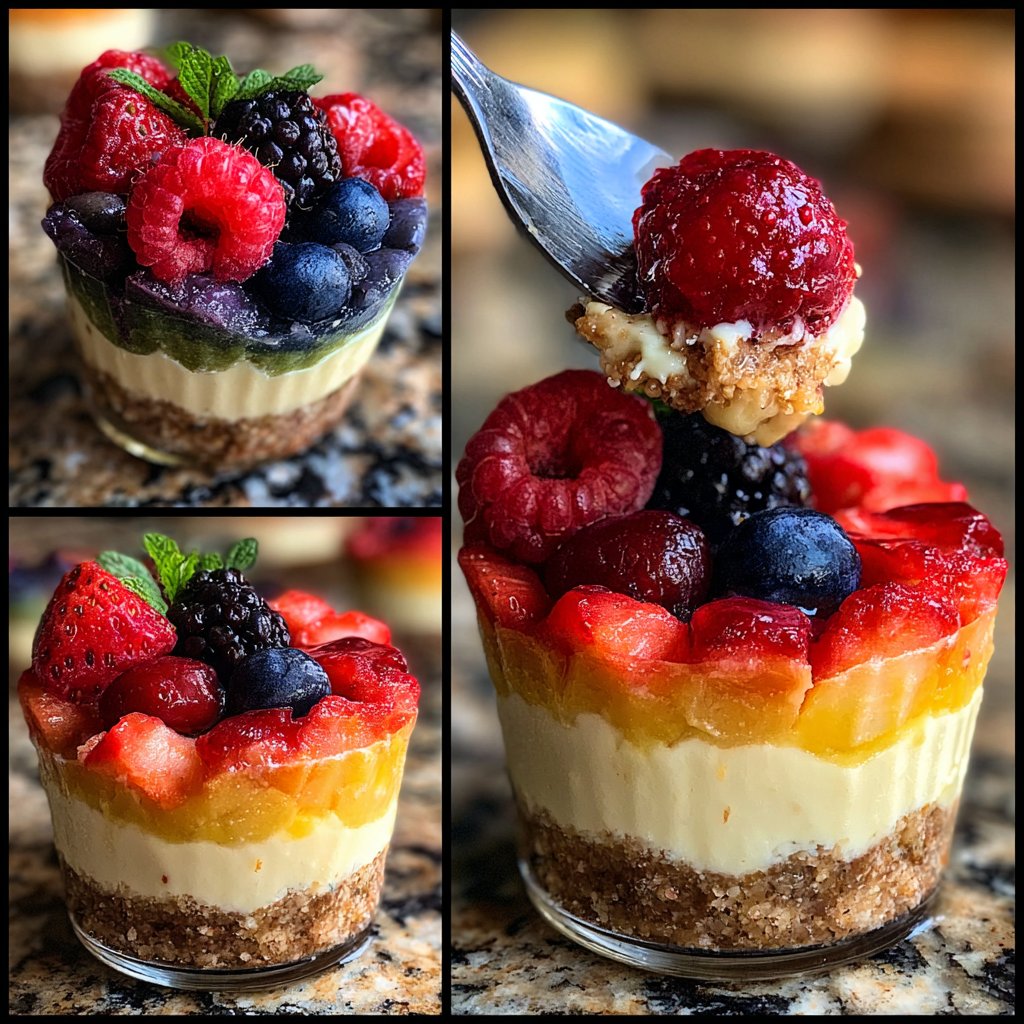
No-Bake Rainbow Cheesecake Cups
Highlighted under: Easy Baking Recipes
I absolutely love making No-Bake Rainbow Cheesecake Cups, especially during warm weather when the thought of baking seems unbearable. These delightful little treats are not only easy to prepare, but they also bring a splash of color and fun to any gathering. They’re perfect for kids and adults alike, and the burst of flavors in each layer is simply irresistible. Whether you’re hosting a party or just indulging yourself, these cheesecake cups will surely be a hit!
When I first decided to make No-Bake Rainbow Cheesecake Cups, I was amazed at how effortless they were to prepare. It’s all about layering different flavors of cheesecake mix with vibrant colors. I found that using gelatin helps firm them up without needing to bake, making them a perfect choice for a quick dessert. The combination of cream cheese and whipped cream gives it a wonderfully smooth texture.
One of my favorite tips is to let each layer chill briefly before adding the next, which helps maintain those beautiful distinct layers. To add a surprise twist, I sometimes incorporate a bit of fruit puree for the flavor, bringing a fruity freshness that complements the sweetness perfectly. You’ve got to try it!
Why You Will Love This Recipe
- Colorful layers that are visually stunning and fun to eat
- Rich, creamy cheesecake flavor without the hassle of baking
- Customizable with different flavors and toppings
Mastering the Rainbow Layers
Creating the vibrant rainbow layers is the highlight of this recipe. To achieve even layering, use a piping bag or a small spoon to carefully add each color. This prevents the colors from mixing and ensures a sharp transition between layers. If you notice the colors merging, you can chill the cups for about 15 minutes between layers to help the previous layer set slightly before adding the next one.
For best results, consider using gel food coloring instead of liquid. Gel coloring provides a richer hue without watering down the cheesecake mixture. Start with just a drop and mix thoroughly until you reach your desired shade. This careful approach ensures that each layer stands out beautifully and maintains its distinct flavor profile.
Delicious Variations and Customizations
While the classic cheesecake flavor is delightful, don't hesitate to experiment with variations. You can incorporate fruit purees like mango or berry to create flavored layers that complement the cream cheese. Just be sure to adjust the sugar content, as fruits may add natural sweetness. For a tangier twist, consider adding a bit of lemon or lime zest to the cream cheese mixture; it enhances the overall flavor without overpowering the other components.
If you're looking for a gluten-free option, the cheesecake layers are naturally gluten-free, but be cautious with any garnishes. Instead of traditional sprinkles, opt for gluten-free alternatives or fresh fruit to keep the dessert suitable for everyone. This flexibility makes it easy to tailor the cheesecakes to various dietary needs while still keeping them delightful and festive.
Storage and Make-Ahead Tips
These No-Bake Rainbow Cheesecake Cups can be made ahead, which is perfect for party planning. Once fully set, store the cups covered in the refrigerator for up to three days. This not only saves time on the day of your event but also enhances the flavor as the layers meld together. Just remember to add the whipped cream and garnishes right before serving to maintain their freshness and presentation.
If you're preparing for a larger gathering, you can easily scale up the recipe. Simply double or triple the ingredients and adjust the portion sizes accordingly. Use larger cups or even a trifle dish for a stunning centerpiece. Just ensure that each layer is consistent in thickness for an impressive display, which will wow your guests without requiring extra effort during the assembly process.
Ingredients
For the Cheesecake Layers
- 8 oz cream cheese, softened
- 1/2 cup powdered sugar
- 1 tsp vanilla extract
- 1 cup heavy whipping cream
- 1 packet gelatin, dissolved in 1/4 cup boiling water
- Food coloring (red, orange, yellow, green, blue, purple)
For Garnish
- Whipped cream
- Fresh fruit (optional)
- Sprinkles (optional)
Instructions
Prepare the Cheesecake Mixture
In a large bowl, beat the cream cheese until smooth. Add the powdered sugar and vanilla, and mix until combined. In another bowl, whip the heavy cream until stiff peaks form, then gently fold it into the cream cheese mixture. Finally, blend in the dissolved gelatin.
Create the Rainbow Layers
Divide the cheesecake mixture into six bowls. Add a few drops of different food coloring to each bowl to achieve vibrant colors. Layer equal amounts of each colored mixture into serving cups, starting with one color and chilling briefly between layers.
Chill and Serve
Once all layers are added, refrigerate the cups for at least 4 hours or until set. Before serving, top with whipped cream and any additional garnishes.
Pro Tips
- You can use gelatin alternatives if you prefer a vegetarian option. For added flavor, consider mixing in pureed fruits like strawberries or blueberries into the cheesecake mixture.
Troubleshooting Common Issues
If your cheesecake mixture becomes too runny, it could be due to over-whipping the cream or not allowing the gelatin to dissolve properly. To fix a runny mixture, re-chill it in the refrigerator for 10-15 minutes, which can help it firm up. Ensure you're whipping the cream until stiff peaks form but not overdoing it, as that can make folding difficult.
On the other hand, if the layers are too dense, try reducing the amount of cream cheese slightly or adding a bit more whipped cream for a lighter texture. The balance between the cream cheese and whipped cream is crucial for achieving that airy cheesecake texture.
Serving Suggestions
Presentation plays a significant role in highlighting the beauty of these rainbow cheesecake cups. Place the cups on a decorative platter and consider layering them with fresh fruits or edible flowers for an added touch of elegance. You can even drizzle a thin layer of fruit sauce over the top for an extra burst of flavor and color.
For an interactive twist, serve a 'make your own' station with various toppings such as crushed cookies, sliced fruits, and chocolate shavings. This encourages guests to customize their desserts, making the experience even more enjoyable. Just remember to provide a variety of options that pair well with the rich cheesecake flavors, such as bright berries or sweet caramel.
Questions About Recipes
→ Can I prepare these cheesecake cups in advance?
Absolutely! They can be made a day ahead and stored in the refrigerator until serving.
→ Is there a substitute for gelatin?
Yes, you can use agar-agar as a vegetarian alternative to gelatin.
→ How can I make these cheesecake cups dairy-free?
You can use dairy-free cream cheese and coconut cream instead of heavy whipping cream.
→ Can I use different colors or flavors?
Yes! Feel free to get creative with different colored food dyes or flavored extracts to personalize your cups.
No-Bake Rainbow Cheesecake Cups
Created by: The Annasrecipes Team
Recipe Type: Easy Baking Recipes
Skill Level: Easy
Final Quantity: 4 cups
What You'll Need
For the Cheesecake Layers
- 8 oz cream cheese, softened
- 1/2 cup powdered sugar
- 1 tsp vanilla extract
- 1 cup heavy whipping cream
- 1 packet gelatin, dissolved in 1/4 cup boiling water
- Food coloring (red, orange, yellow, green, blue, purple)
For Garnish
- Whipped cream
- Fresh fruit (optional)
- Sprinkles (optional)
How-To Steps
In a large bowl, beat the cream cheese until smooth. Add the powdered sugar and vanilla, and mix until combined. In another bowl, whip the heavy cream until stiff peaks form, then gently fold it into the cream cheese mixture. Finally, blend in the dissolved gelatin.
Divide the cheesecake mixture into six bowls. Add a few drops of different food coloring to each bowl to achieve vibrant colors. Layer equal amounts of each colored mixture into serving cups, starting with one color and chilling briefly between layers.
Once all layers are added, refrigerate the cups for at least 4 hours or until set. Before serving, top with whipped cream and any additional garnishes.
Extra Tips
- You can use gelatin alternatives if you prefer a vegetarian option. For added flavor, consider mixing in pureed fruits like strawberries or blueberries into the cheesecake mixture.
Nutritional Breakdown (Per Serving)
- Calories: 250 kcal
- Total Fat: 18g
- Saturated Fat: 10g
- Cholesterol: 35mg
- Sodium: 90mg
- Total Carbohydrates: 20g
- Dietary Fiber: 1g
- Sugars: 12g
- Protein: 3g